Welcome to the QMSCAPA Cloud Services
The QMSCAPA application has been designed to run in Microsoft Windows, whether in a local Windows PC, Cloud PC, or Server, Virtual Machine or a Windows Server with Remote Desktop Services.
Also, these Microsoft Windows applications allow users to connect with devices using Apple and, or Android operating systems.
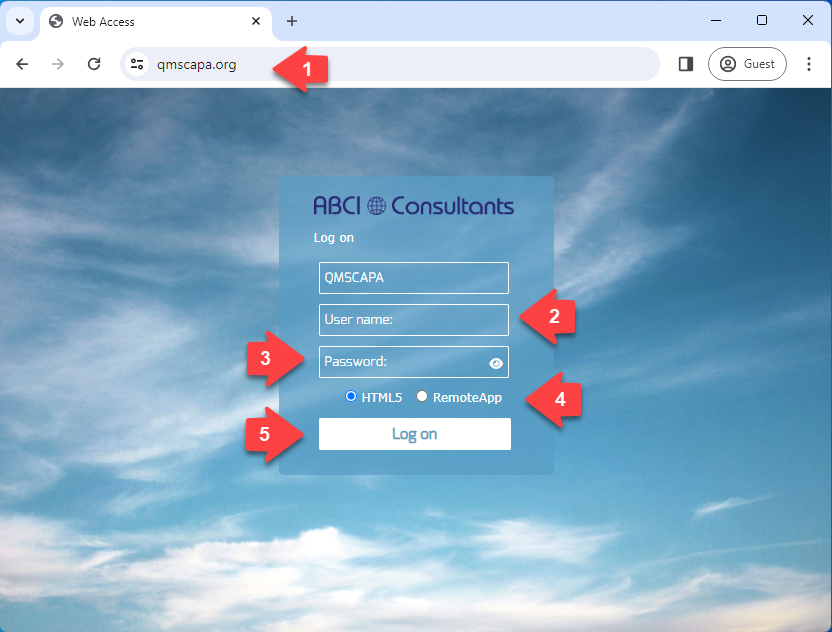
Using your favorite web browser:
- 1) Select a host for the QMSCAPA Domain.
- 2) Enter your assigned login, which becomes your first QMSCAPA login.
- 3) Enter your password assigned by your Domain Administrator.
- Select the HTML5 option.
- Click on Login.
Completing the Login
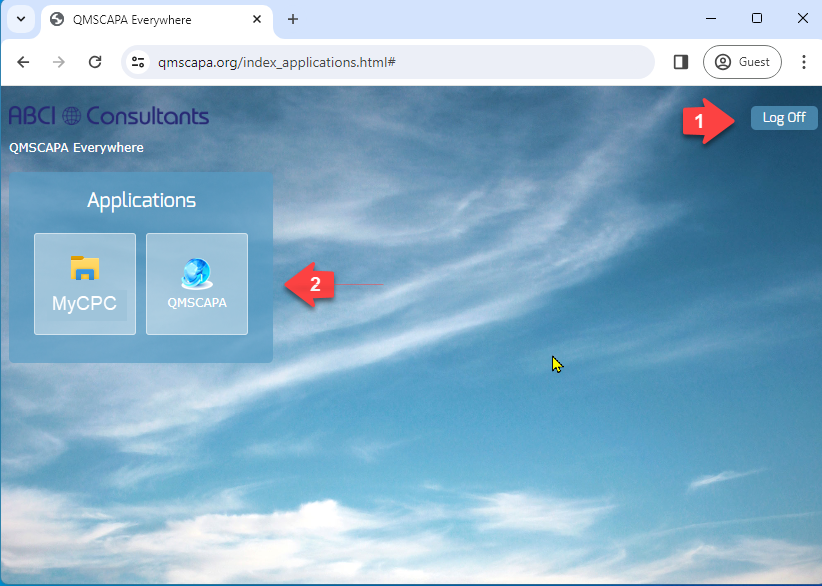
Once you have successfully completed the login the Server Applications panel page will be displayed.
- This page may also be used to logoff
- Your Domain Administrator my provide direct access to QMSCAPA and other applications used by the Remote Desktop PC.
Starting QMSCAPA
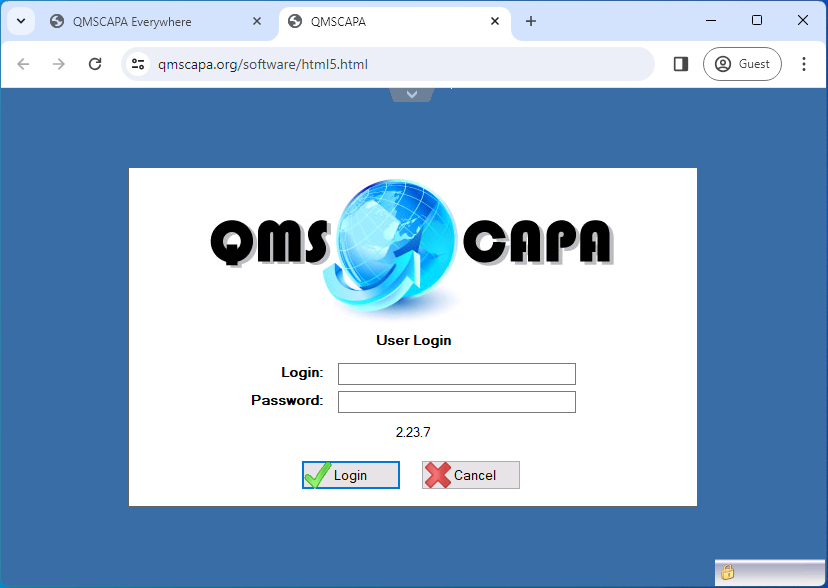
Enter your Login and Password assigned by your Domain Administrator. The QMSCAPA login and passwords are not case sensitive.
Changing Password
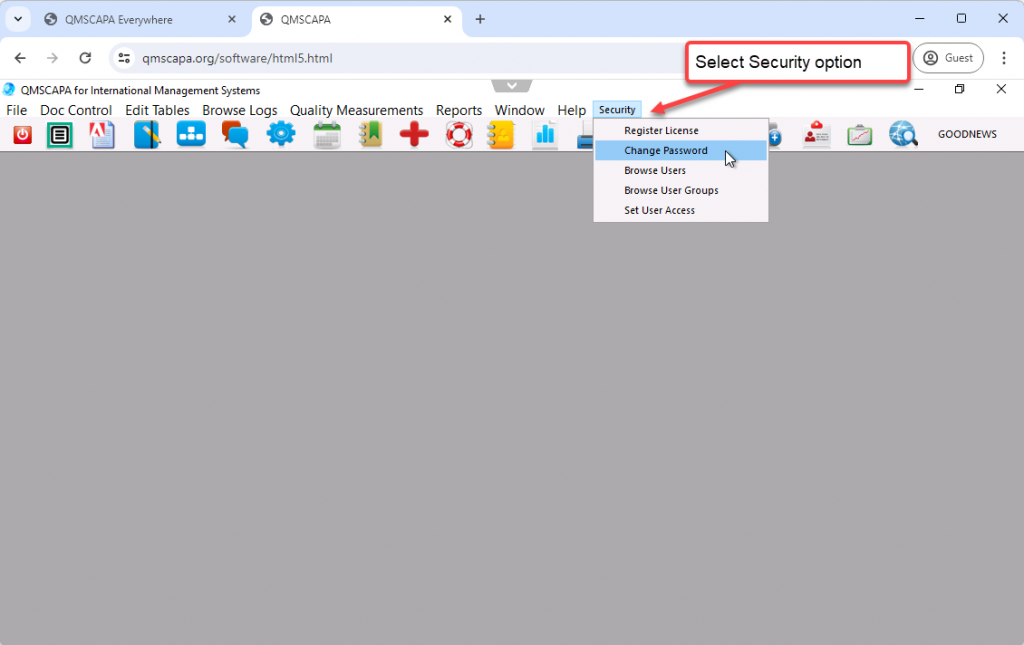
To change your password select the Security menu option and the Change Password option.
User Defined Menu Option
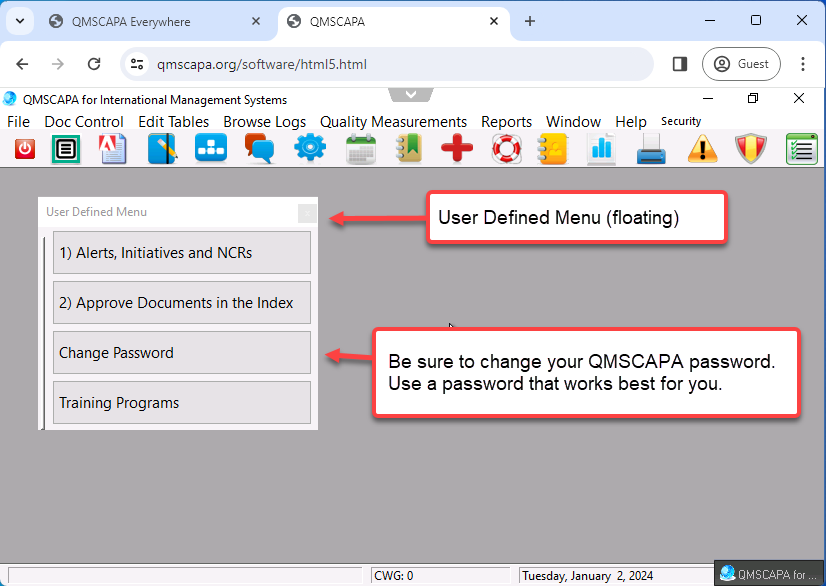
QMSCAPA has four application navigational methods, which are:
- A Text Menu across the top of the Windows frame.
- An ICON option bar below the Text Menu. Hoover on these icons for the various tool tips that are available.
- An Easy Start Menu (CtrlShiftM) that shows additional tool options with ICON and TEXT.
- In addition, QMSCAPA includes a user defined menu option to allow users to create a floating panel for frequently used modules and tools. This option allows the user to select other menu options (not ICONs) that may be loaded into the panel
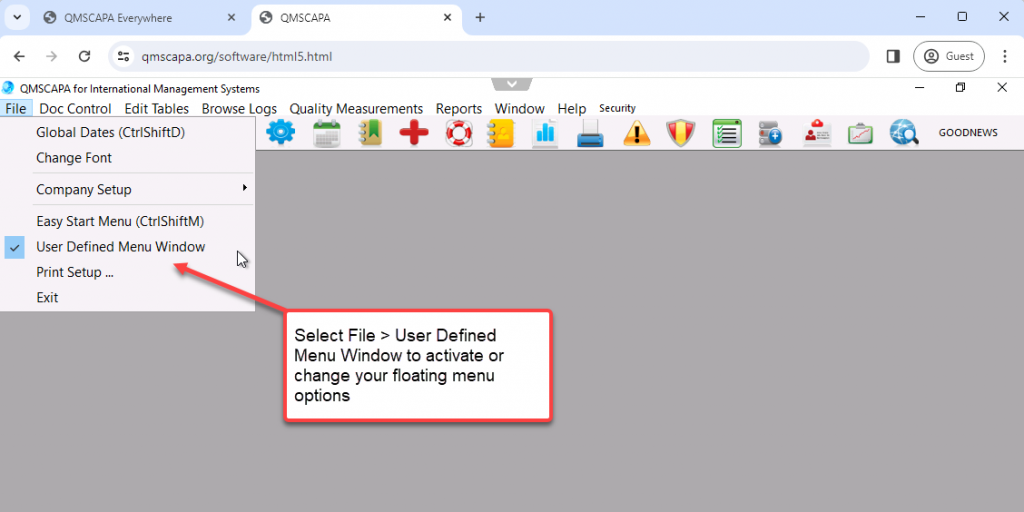

Cloud PC Options
Your Domain Administrator may add one or more applications to the QMSCAPA host application panel.
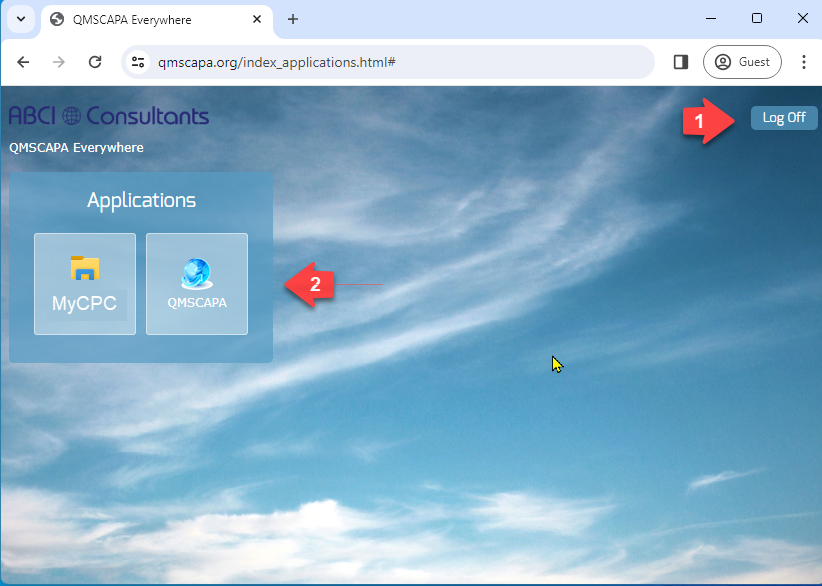
- Logoff
- Select an Application
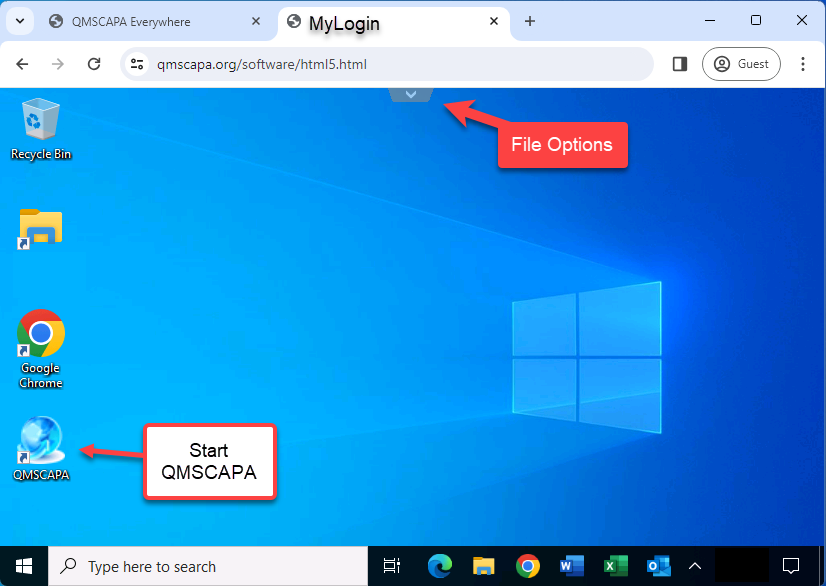
Browser File Options
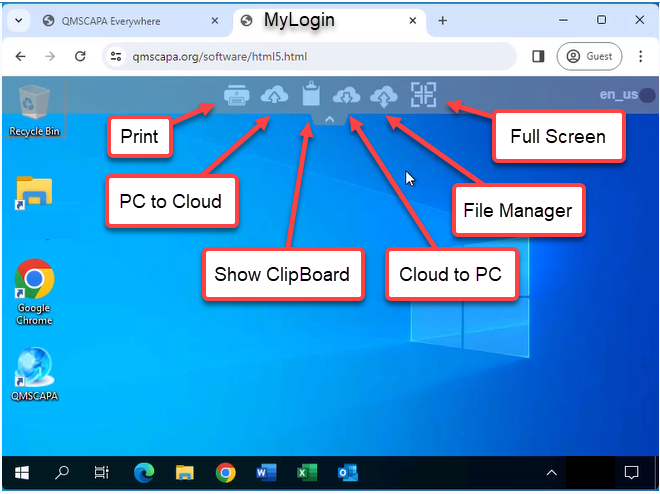
Click on the “v” or “^” at the top of the browser window to drop down File Management and Full Screen options.
